DIY Headshot Photography Guide. 10 Easy Tips.
If all you have is a smartphone, that's pretty great. Chances are it's better than professional DSLRs were five years ago.
Ten guidelines for D.I.Y. headshots at home.
1-It's lit
Standing next to a window on a sunny day can provide natural, soft light that is flattering for headshots. Especially a south-facing window if you are in the northern hemisphere. Avoid using flash, as it can create harsh shadows and a less natural look.
2- Keep It Simple
A plain background without distractions will help draw attention to your face. We do not want any lines emanating from behind your head. Avoid brick or wood paneling at all costs.
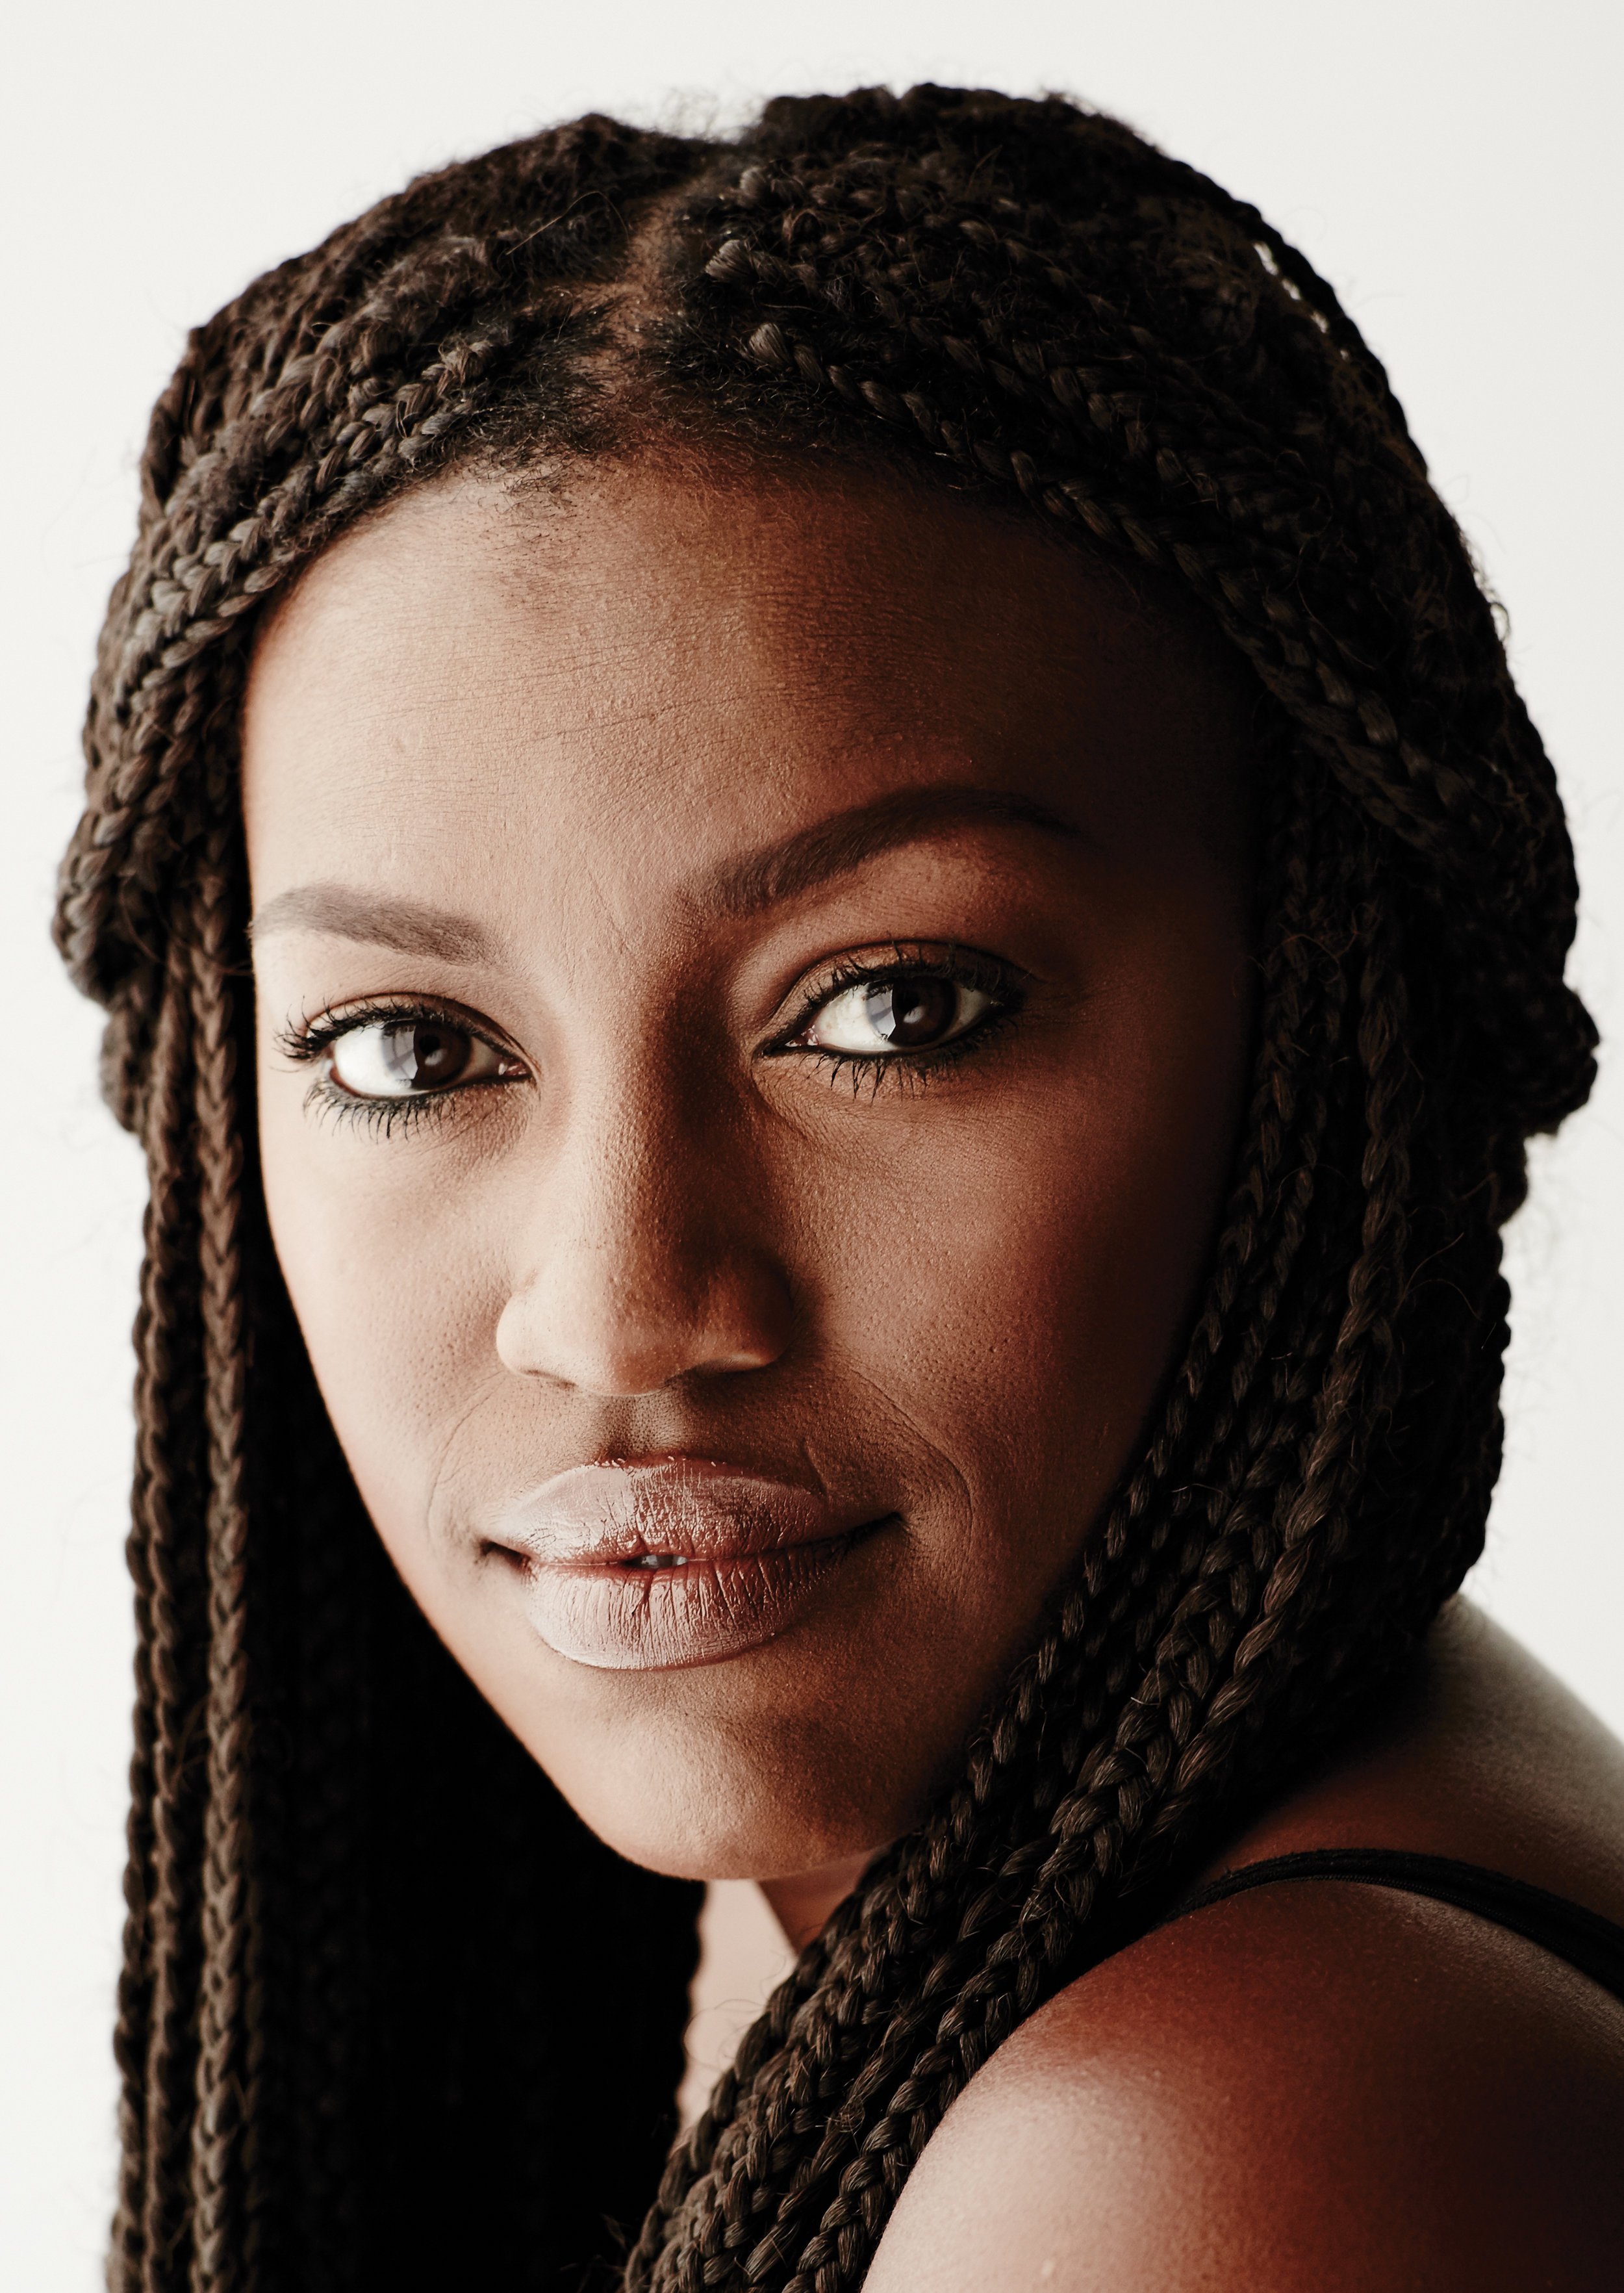
3- Angles, angles, angles
Try tilting your head slightly or angling your face in a way that flatters your features. Place the camera at eye level and slightly tilt down about 10%. Then raise again to fit your head and shoulders. Avoid shooting directly above or below, as these angles can distort your face.
4- Frame up
Most headshots crop at chest height, so give yourself plenty of room to crop and reframe when you upload the final version. When you shoot, ensure plenty of space around the shoulders and above your head. The top of the frame should start about a thumbnail above your head, and the bottom of the frame mid-ribcage. Reframe as you see fit.

5- Rock Steady
To keep your phone steady and avoid motion blur/camera shake, use a tripod or self-timer to take the photo. This small change makes a huge difference.
6- Strike a pose
Stand up straight and relax your shoulders. Stand at a 45º angle but keep your head straight toward the camera. Then stand 45º in the other direction. Lean slightly over your lead leg when you do. Keep your leg straight and knees locked. This posture helps us look confident and approachable. I also recommend breathing exercises right before you start shooting. Large inhales through your nose, hold it, and slowly exhale. Repeat until you feel yourself becoming calm and relaxed.

7-Power lines
Most smartphones have a grid feature. This tool will help you align your face with the rule of thirds, a compositional technique that divides the frame into nine equal parts for a balanced composition. Start by placing your eyes along the top horizontal line in the frame.
8- Say goat cheese!
Try smiling with and without teeth. Go for a no-smile, James Dean look. It's also a good idea to try different head tilts and angles to see what looks most natural and flattering.
9- Solid drip
Like your background choice, we don't want to distract from your face. Simple, solid colors. No prints, lines, plaid, or graphics.
10- The eyes have it
Eyes are how we, as viewers, connect faces with impressions. The eyes have it: No matter what, your eyes, or at least the eye close to the camera, need to be the sharpest area in the entire photo. Out-of-focus eyes will repel viewers and leave a subliminal false impression.
Extra Credit
Headshots can be fun with a friend who may also need an updated profile pic. If you have an extra pair of hands, go the extra mile and rig up a white bedsheet opposite the window and another to use as a background. Before you know it, you have your very own studio.
Stay hungry my friends.